Sophia and I painted some acorns today. We used acrylic paint to paint our acorns. This was really easy and fun to do for my 4 year old. And since we are working on her numbers, I asked her to collect 20 acorns. She did great and was able to count them on her own.
Featured Posts

Big Apple Circus
Our family trip to The Big Apple Circus: Metamorphosis

iPlay America
Our family trip to iPlay America

Homemade GAK
How to make GAK

DIY Ceramic Mug
A great idea for a christmas gift
Showing posts with label DIY. Show all posts
Showing posts with label DIY. Show all posts
Friday, September 4, 2015
Monday, August 3, 2015
Homemade GAK
Looking for fun things to do with your kids this summer? Try this homemade GAK! Aside from making homemade play dough, making GAK is one of their favorites to make. It's easy and fun. I love that it has only 4 ingredients: glue, borax, water and food coloring.
Here's the exact measurements:
1- 8 oz glue
water - devided (1/2 cup and 1/4 cup warm water
1 tsp of Borax
food coloring
Direction:
Here's the exact measurements:
1- 8 oz glue
water - devided (1/2 cup and 1/4 cup warm water
1 tsp of Borax
food coloring
Direction:
- Mix glue and half a cup of water in a container then add your choice of food coloring.
- Mix Borax and 1/4 cup of warm water until completely dissolved in a separate container.
- Once Borax is dissolved mix together with your glue mixture. And mix until solid.
See how easy is that?
Labels:
arts and crafts,
DIY,
gak
Sunday, November 16, 2014
Christmas Gift Idea: DIY Sharpie Ceramic Mugs
Are you looking for easy and fun gift to give to teachers or grandparents this Christmas? Try this DIY Sharpie Ceramic Mug. It's so easy and my girls had so much fun making it. It's also very inexpensive. I bought the mugs for $2 each.
You just need two things:
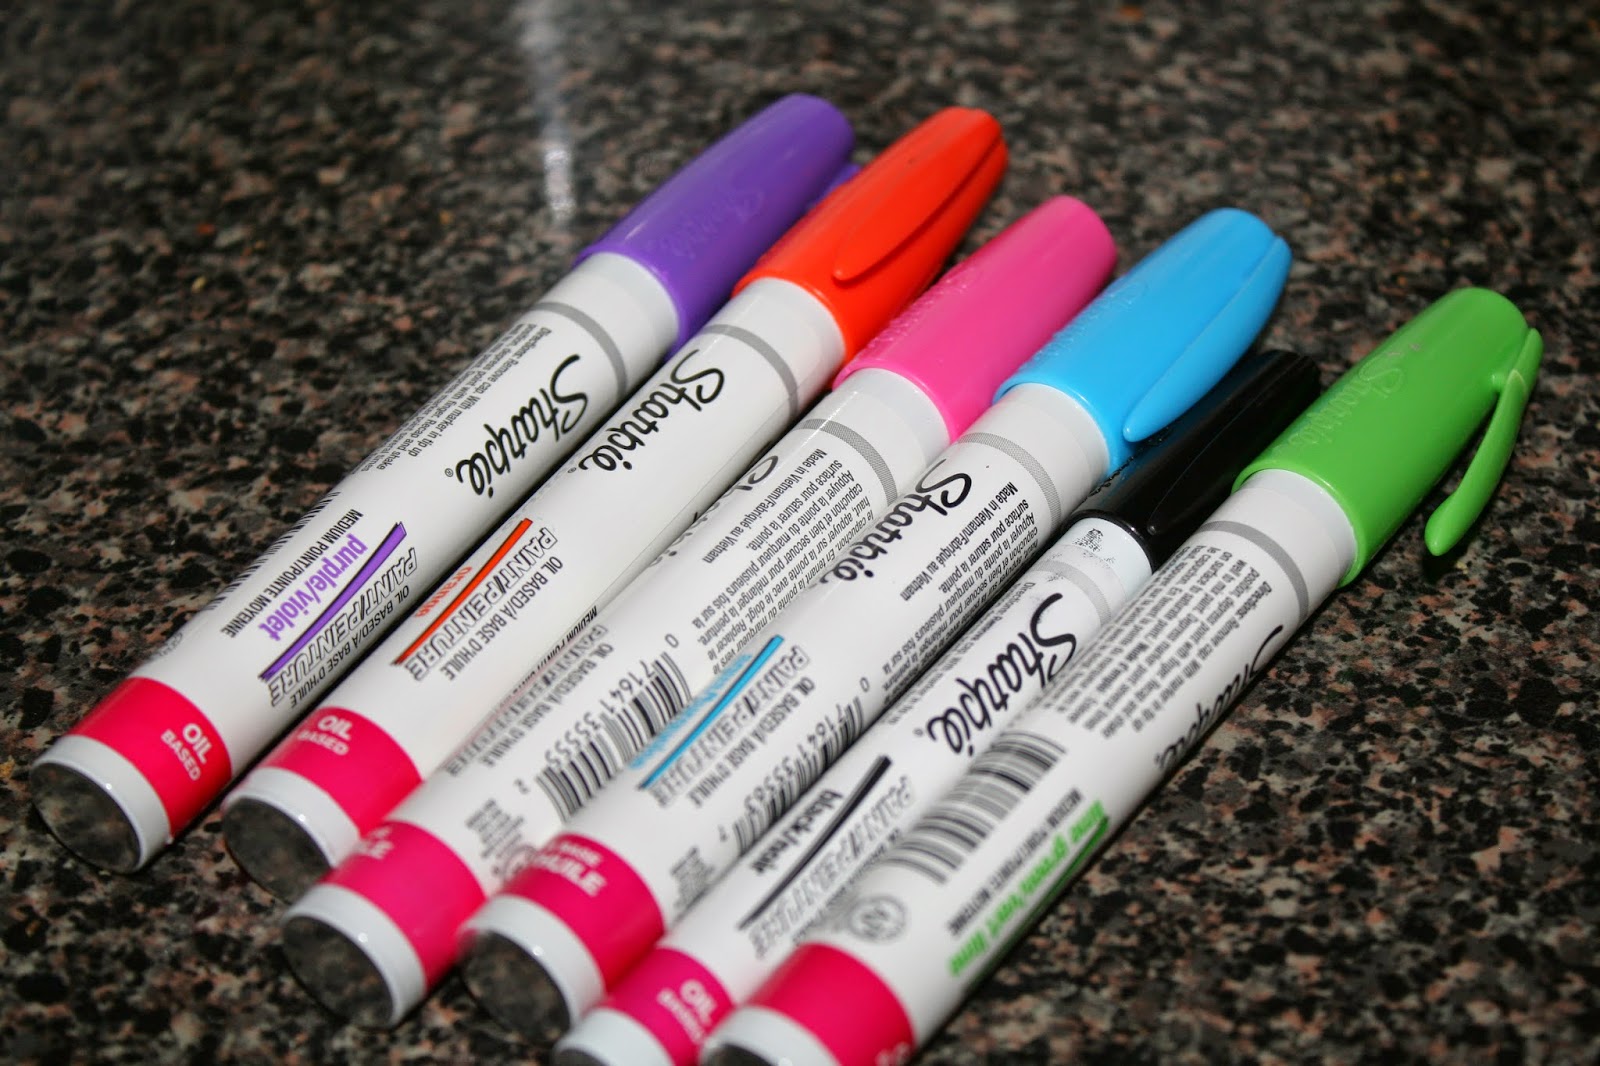
Oil Based Sharpie - it has to be oil based for it to be dishwasher safe. Do not use the regular sharpie. I purchased mine at Michaels. They are a bit expensive ($16) so make sure you use their 50% off regular item coupon.
White Mug - I couldn't find one in the dollar store so I purchased mine at Big Lots for $2.
Bake for 30 minutess at 350 degrees
This was so easy and fun. We will be making more to give to their teachers, Lolas (grandmas), and piano teacher. We might add some hot chocolate packets inside or candies when we give it to them.
Labels:
Christmas Gift Idea,
DIY
Saturday, November 8, 2014
Amazon Prime Instant Video: Annedroids & National Recycling Week
We all know recycling is important, but how do you convey that to your kids? How do we promote finding new uses for everyday things that would otherwise go to the trash bin? Luckily for us there is a new show available in Amazon Prime Instant Videos that might inspire children to do just that.
Fresh from the mind of J. J. Johnson ( Emmy nominated creator of Dino Dan) and Sinking Ship Entertainment, comes a new live action adventure show called Annedroids. Annedroids follow the adventure of Anne, a young female scientist and her human friends, Shania and Nick and their mechanical assistants, Hand, Eye and Pal. A tenacious, intelligent and a resourceful young girl, Anne (recently named one of TV's Best Role Models of 2014 by Common Sense media) encounters problems and solves them using (STEAM) science, technology, engineering, the arts and math, all while making amazing scientific discoveries and making friends.
Annedroids start out as a young boy named Nick moves in to a new neighborhood with his mom Maggie. Distraught over moving to an unknown place without friends and living across a junkyard, things start to change as he befriends his neighbor, a funny girl named Shania and her little brother, Garth. A little while over, they become suspicious as a pair of mysterious, mechanical eyes watches them from behind the walls of the junkyard. Summoning the courage to discover what's over the wall, Nick and Shania meets and befriends Anne, a young scientist and her robotic creations or androids ( the show explains the difference between the two): Hand, a giant, mechanical, tripod legged, spider like android that serves as Anne's guardian; Eye, a mobile ( and eventually flying) android with a video camera as an eye that documents Anne's scientific endeavors; and Pal, a humanoid robot who assists the kids in their adventures. Together, this group of mechanical and human friends inspires children to do great things with the use of STEAM which in itself seems to be based on the Scientific Method, a real way of asking and answering scientific questions used by real life scientist in making observations and doing experiments.
Speaking of experiments, many of Anne and her friends' adventures provide opportunities to showcase the key processes of STEAM, which are often not addressed well in children's television programming. This includes processes involved with identifying problems and asking questions, making plans and creating prototypes, experimenting and testing, reflecting and revising. In particular, it is good to see that Anne and her friends learn as much from failure as success, and see the failures as opportunities to try new things.
Inspired by the show and to help celebrate National Recycling Week, my daughters and I decided to reuse plastic bottles (that would have otherwise been in our recycling bin) to build a tunnel playground and an observation deck for our pet hamster, Juliet. I was inspired to utilize plastic drinking bottles used in the first episode of the series where it was a part of the contraption that served as Anne's morning alarm. The observation deck idea was also derived from the clear rubberized, enclosed area that Anne, Nick and Shania was in when they were waiting for lightning ( which apparently one strike=150 million powered lightbulbs ) to give life to the android PAL.
Just like Anne used things found in her junkyard to create new inventions. And also just like Anne and her friends: what other people sees as junk, my daughters and I sees problem-solving possibilities.
First Project: Tunnel Playground
Second Project: Observation Deck
I was selected for this opportunity as a member of Clever Girls and the content and opinions expressed here are all my own.
Thursday, October 30, 2014
American Girl Doll Storage Solution
Emma and Olivia started collecting American Girl Dolls last year. It's what they ask for their birthdays and Christmas. They have six dolls now. What I don't like about these dolls is that they don't stand that well. They would keep falling down. I noticed that if you leave them lying down their hair get tangled and messy. I decided to find a way to store them better instead of piling on top of each other. These dolls are so expensive so I want them to last for a very long time.
I got these hooks from the dollar store that I have been using to hang their dolls. My girls can easily take their dolls out and place it back on their own. These are also great for any 18 inches dolls such as Journey Dolls.
I've seen others used the metal hooks. I think this is better because it's plastic. It will not scratch their body. Also, you can't beat the price. It's only $2 per doll and you don't have to build or use any tools to put it together.
Tuesday, October 28, 2014
DIY Bath Crayons
I'm always looking for crafts and activities that my kids and I can do. It has to be easy enough for them to do on their own or with very little help.
When I saw this DIY soap crayons on Pinterest I know my kids would be very excited to do them. They are fun and easy to make. I had everything I needed except for the white soap so I went to the dollar store and bought one.
You will need:
White bar soap - We used two Ivory Soap
Grater
Food Coloring
Water
1. Grate your soap.


Labels:
arts and crafts,
DIY
Saturday, October 4, 2014
DIY Chore Chart
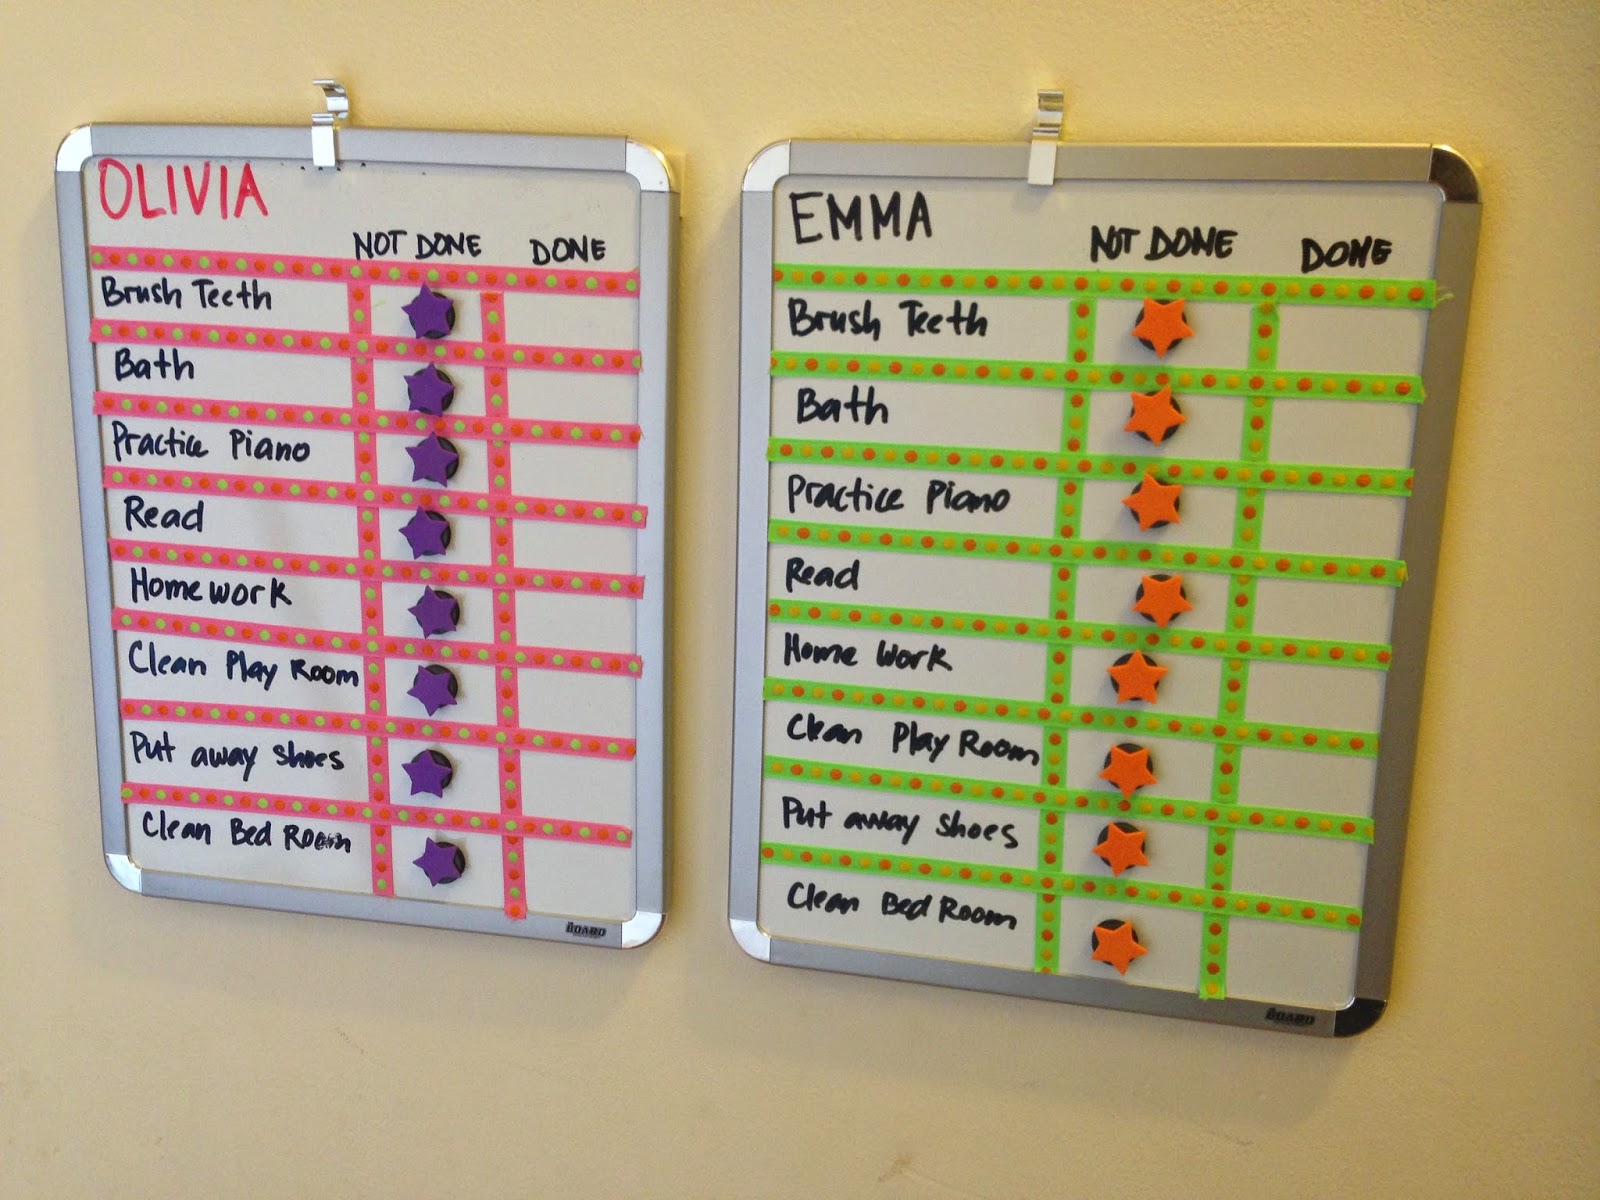
This year we started having chore charts for my daughters. Hopefully it will help us become organize this school year. It will remind them their tasks and their responsibilities without me always nagging. Otherwise I'm always yelling to do their homework, to read or practice piano.
This chore chart is pretty inexpensive. I used an erase board ($7) that I bought at Walmart and ribbon tape that I bought at the dollar store. You can also use washi-tape if you want. The round magnets was also bought at the dollar store.
Labels:
chore chart,
DIY,
frugal,
parenting,
thrifty
How to Clean Your Stove Top - Chemical Free
The best way to keep your stove clean is to clean it right after you use it but I don't always do that. Sometimes I wait when I can't stand it anymore before cleaning it. This is why it gets this way....
How to Clean:
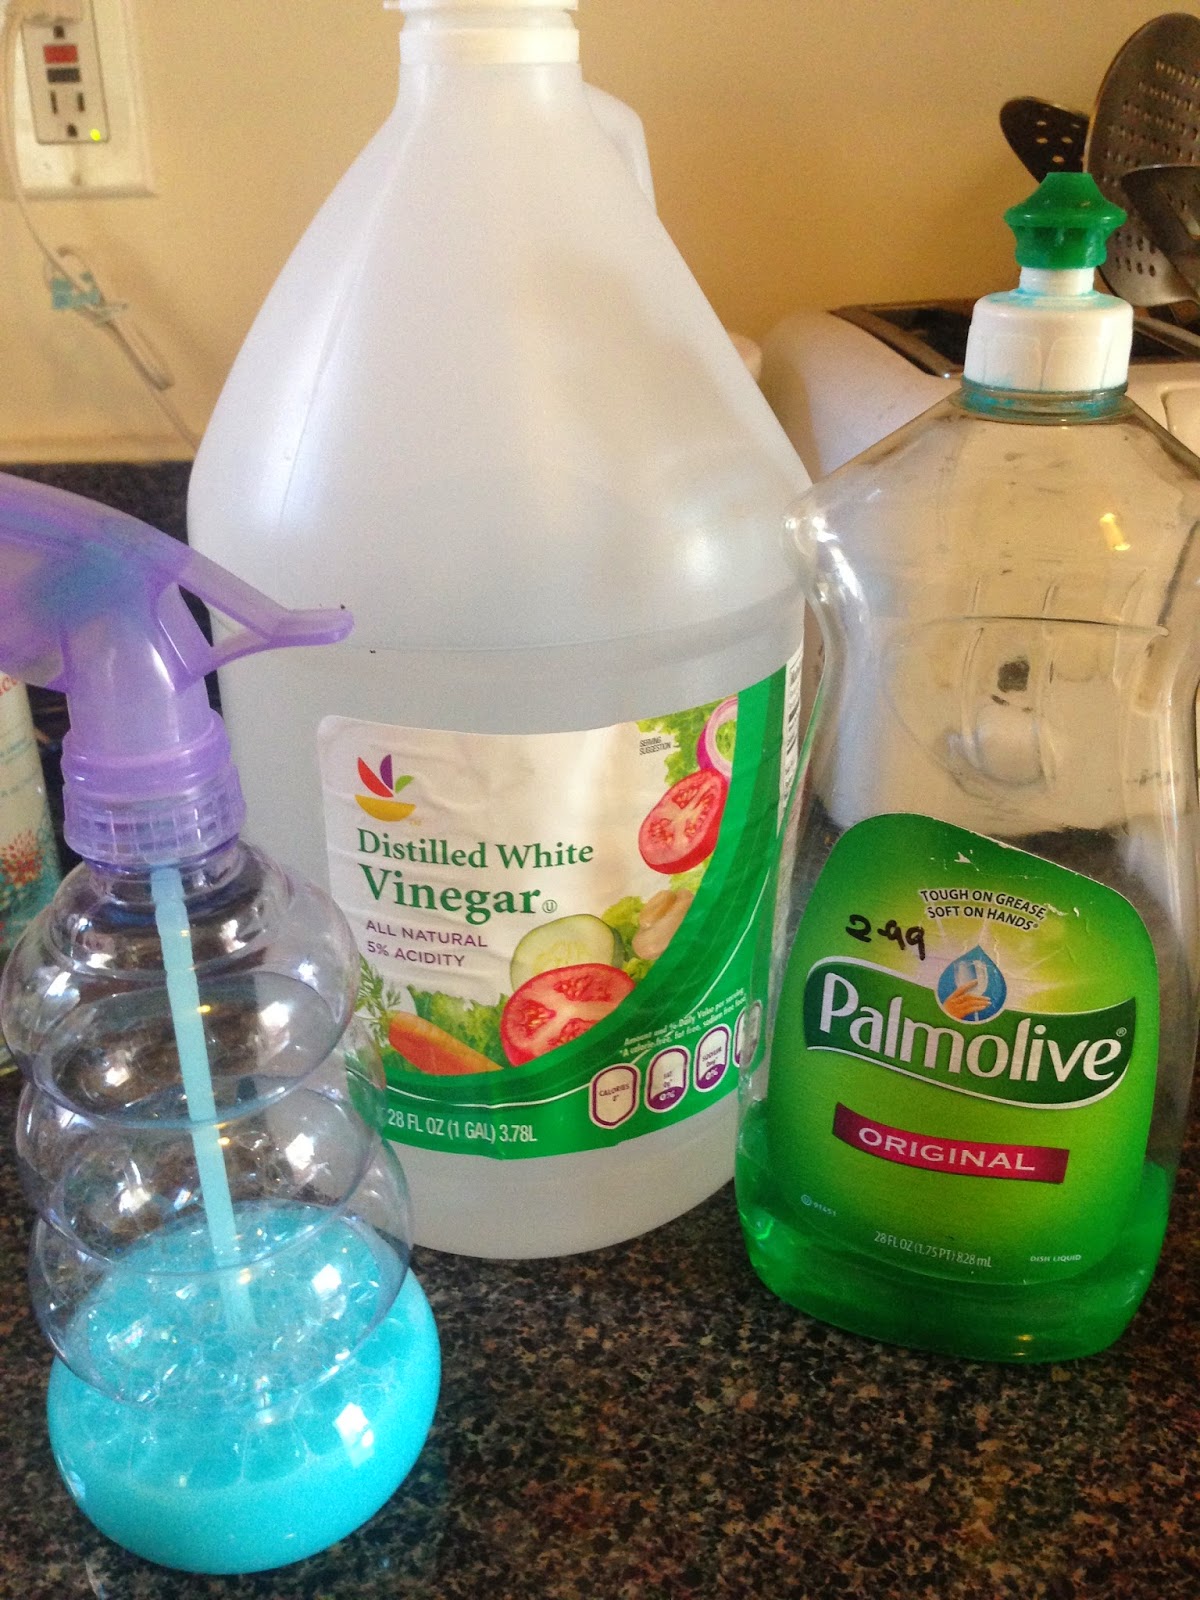
I use one part vinegar and one part dish detergent. I prefer Dawn to use. I think it works better than other dish detergent. But since I ran out I'm using Palmolive. As long as you don't use those cheap $1 kind from dollar store you should be fine. You mix it all together and put it in a spray bottle or in a bowl.
Spray it all over or you can pour it. Let it soak for a few minutes. The longer you wait the better. I usually wait 15 or half an hour so it's easier to scrub.
Labels:
cleaning,
DIY,
healthy,
no chemicals,
organic
Monday, September 22, 2014
Homemade Hard Lotion for Eczema and Recipe
My daughter Emma have had eczema since she was a baby. I've tried different kinds of organic or all natural lotions but nothing really worked. Her eczema was really bad. It was itchy and red. She would bleed sometimes from scratching.
A few months ago I decided to try making hard lotion. After using it for only a few days you could right away tell her eczema was getting better. After a few weeks using it, her eczema is almost gone. The dryness still comes back if she doesn't put it on for days. I just have to keep reminding her to put it on everyday. So far she's been really good at remembering. She loves rubbing it all over her body.
Here is the before and after picture. The middle picture was taken after one week using the hard lotion. The bottom picture was taken recently.
This is the second time I made them. The first time I made them I only made a small batch. I've given a few and my whole family use them so they didn't last very long. This time I made a lot. Another great thing about this lotion is that it only has 3 ingredients and they are so easy to make.
Ingredients: These ingredients should be available in any health food store but I bought mine from Amazon. Use ONE PART EACH. If you are using 4 oz shea butter then you have to use 4 oz for the coconut oil and beeswax. I made 16 oz or 1 pound each.
Shea Butter
Coconut Oil
Beeswax
Combine all ingredients
Use a double boiler to melt it. I used a mixing bowl and placed it on top of a boiling water.
Once it is all melted you can pour it on any molds. I used muffin and mini muffin pan. You can also use ice cubes trays.
Once they are hard you can store it in a ziplock bags. Make sure you store them in a cool place.
Disclosure: this post contains affiliate links.
Labels:
DIY,
eczema,
hard lotion,
Home treatment,
organic,
recipe
Subscribe to:
Posts (Atom)


